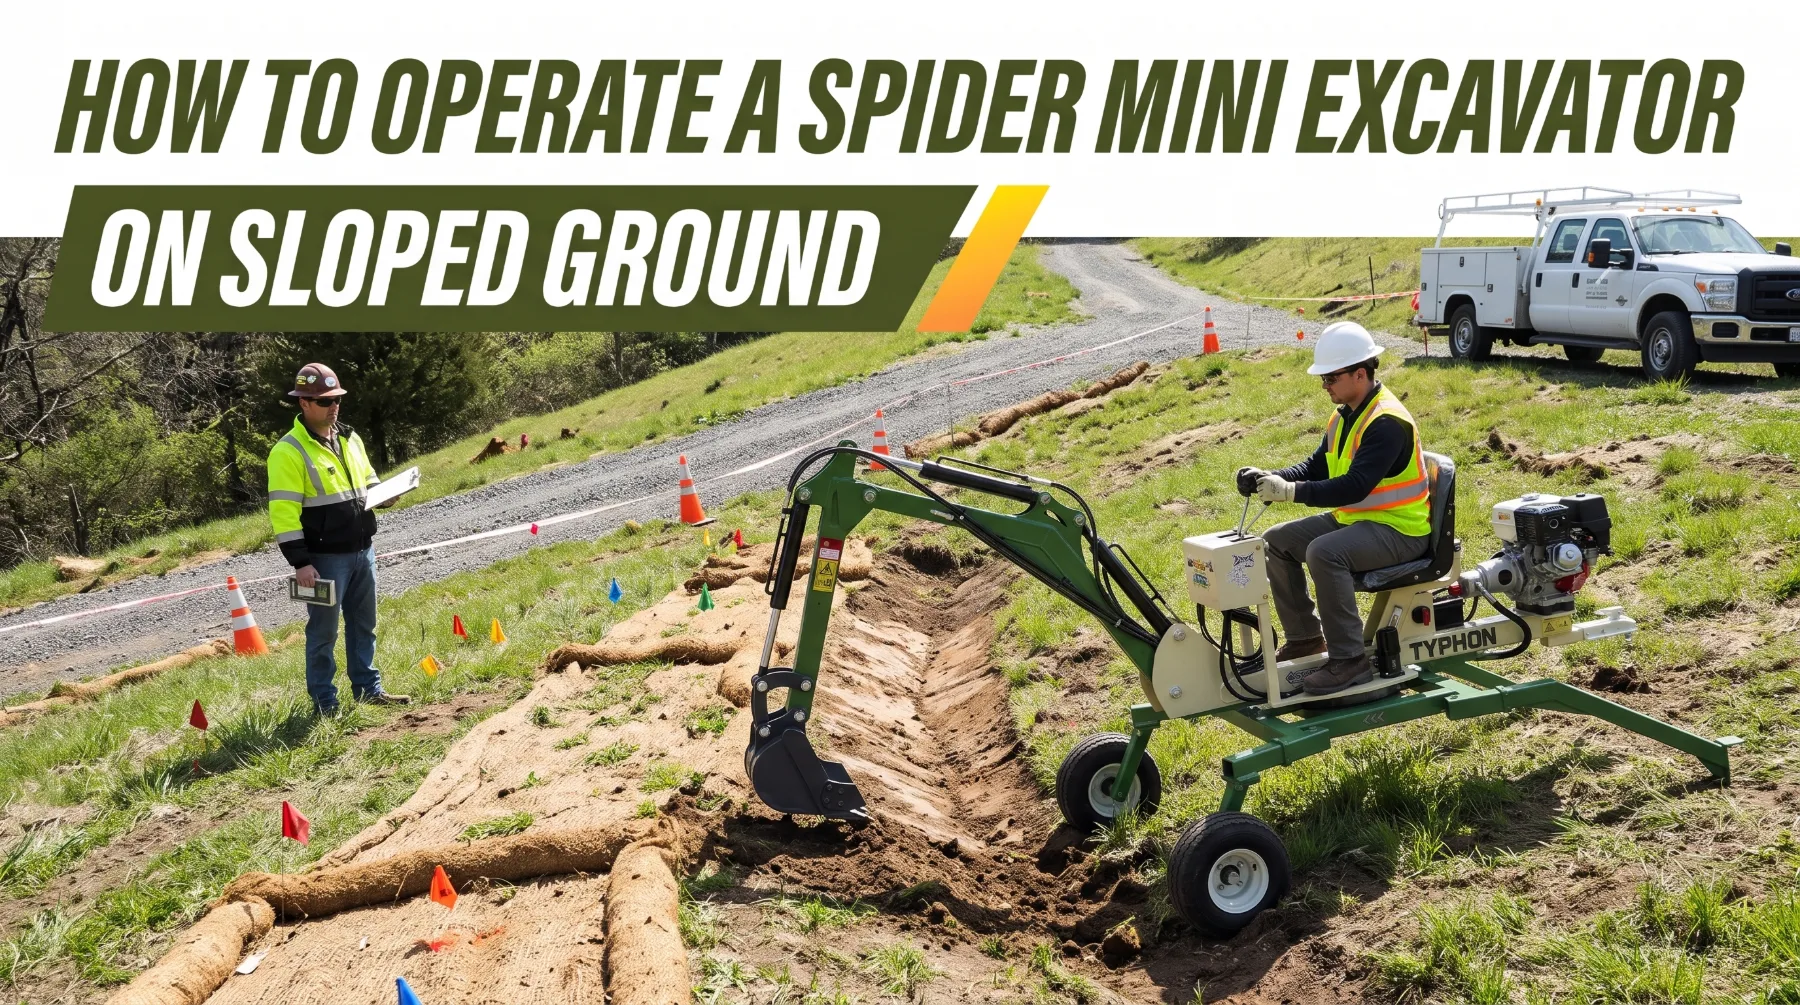
How to Operate a Spider Mini Excavator on Sloped Ground
Spider mini excavators go where conventional machines can’t. Steep embankments, creek banks, terraced gardens, vineyards, and rugged hillside sites are where these machines prove their value. Independently adjustable legs let the operator shape the machine’s stance to the terrain, which opens up drainage work, slope stabilization, vegetation clearing, and excavation in locations that would otherwise require hand labor or major access preparation.
That capability can also create false confidence. A spider configuration helps the machine adapt to uneven ground, but it doesn’t change the physics of working on a slope. Ground strength, leg placement, machine orientation, attachment position, and the manufacturer’s published limits all determine whether the excavator stays stable. One leg resting on soft fill, one abrupt boom movement, or one cut that undermines the machine’s own footing can shift its balance in seconds.
Assessing the Slope Before Positioning the Machine
Safe hillside work starts before the engine does. A thorough site assessment identifies the hazards that could compromise stability and helps you plan the safest way to complete the job.
Begin by measuring the actual slope angle. Visual estimates are often inaccurate, particularly on long or irregular hillsides where the gradient changes from one section to the next. Use an inclinometer, a digital level, or site survey data to measure the gradient at each planned working position and along the full travel route. Compare those readings with the manufacturer’s published limits for your model and configuration. Limits may differ for travel and for working, and they may vary with machine orientation, so read the manual carefully.
Next, evaluate ground strength. A slope can look firm on the surface while hiding weak sections below. Walk the area and look for:
- Loose or disturbed soil: Recent fill, eroded patches, and spoil piles may not support the concentrated load of a support leg.
- Wet or saturated ground: Water lowers soil strength and can turn a stable slope unstable, especially after rain or near springs and drainage paths.
- Rocks and boulders: Loose stones can roll under a foot or shift when weight is applied.
- Hidden voids: Animal burrows, old foundations, collapsed drains, and decayed root systems can give way under load.
- Edges and drop-offs: Retaining walls, trench edges, and embankment crests may not support the machine near their edges.
- Buried and overhead utilities: Locate underground services before digging, and identify power lines the boom could approach as the machine works on the hillside.
Plan the job before positioning. Identify the travel route, each working position, a safe parking or repositioning area, and where spoils will go. Spoils placed carelessly on a slope can slide downhill, overload the ground, or bury the spot where a support leg needs to rest.
Never assume a spider configuration makes every hillside workable. If the measured slope exceeds published limits or the ground can’t provide reliable support, choose another position, prepare the ground where permitted, or select different equipment.
Key takeaway: Measure the slope, assess ground strength, and map hazards before positioning the machine, and never operate beyond the manufacturer’s published slope limits, no matter how capable the spider configuration appears.
Setting the Support Legs on Uneven Terrain
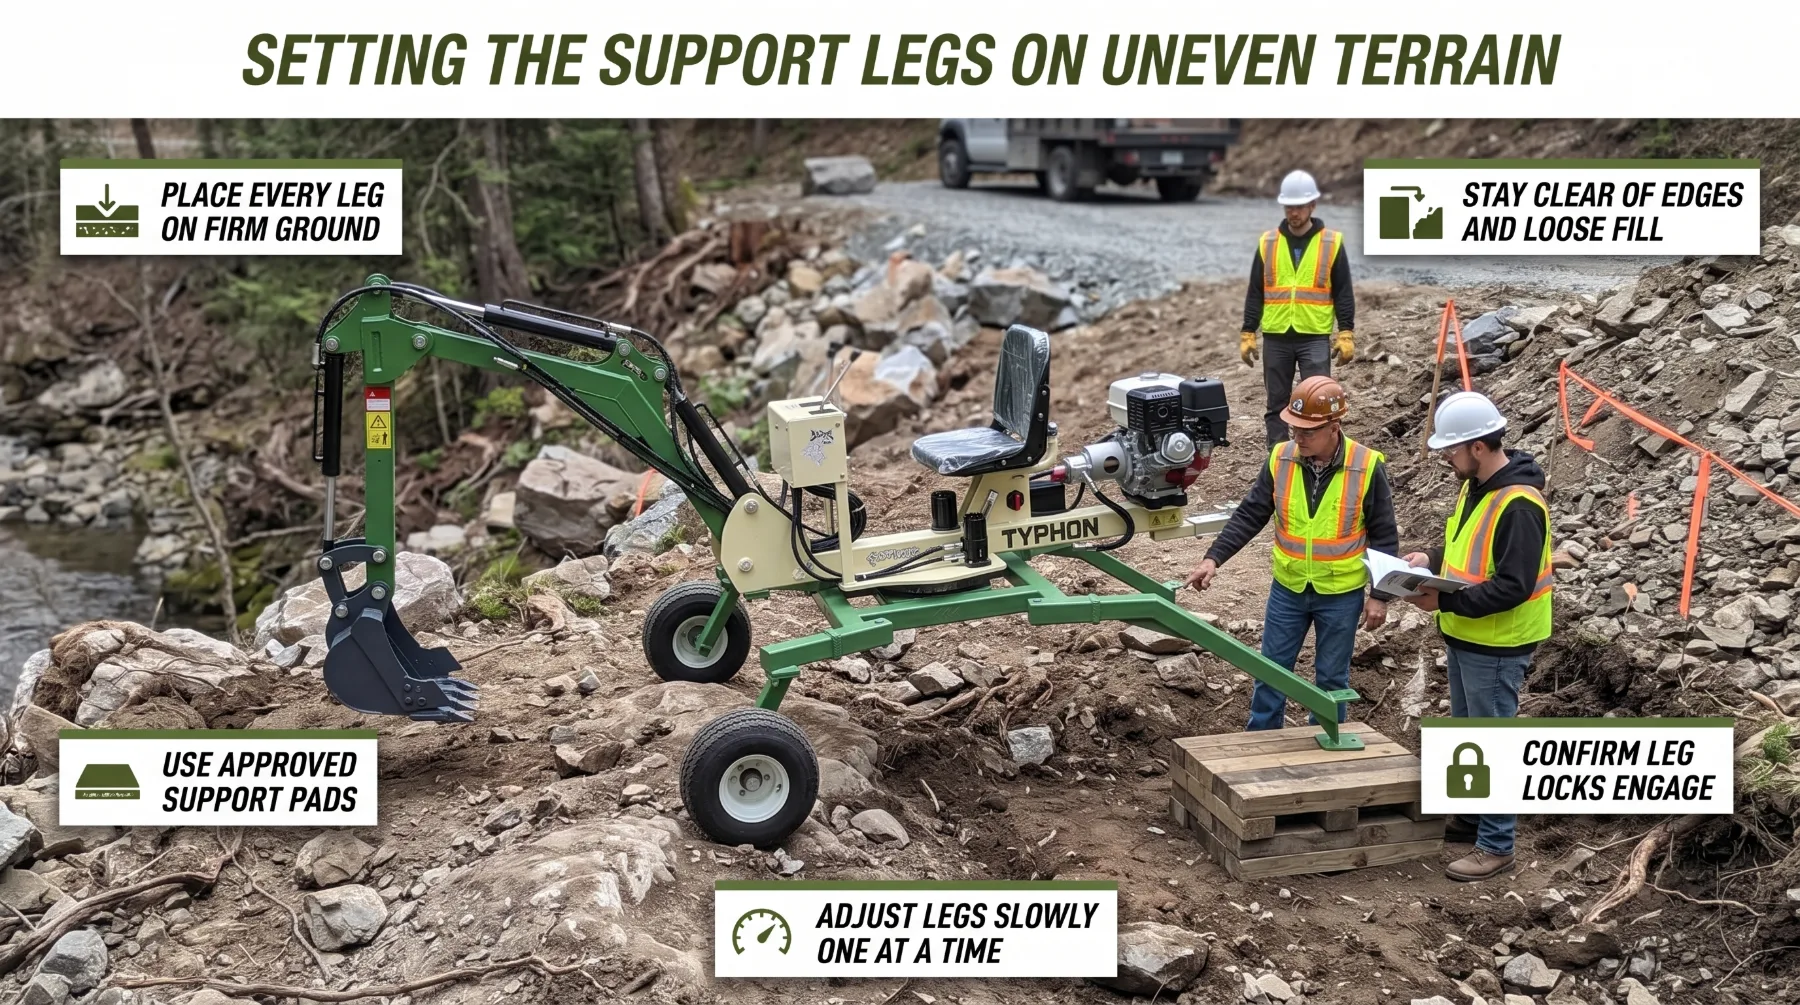
The support legs form the foundation of a spider excavator’s stability. Each leg carries part of the machine’s weight and resists the forces created by digging, lifting, and swinging, so every point of contact must rest on ground that can hold it.
Position each leg according to the manufacturer’s instructions. Most spider excavators allow the operator to extend, raise, lower, and angle legs independently to build a balanced base on irregular terrain. Use that adjustment to create a stable footprint within the approved configuration. Leveling the upper structure improves operator comfort and control, but it does not raise the slope limits set by the manufacturer.
Where the manufacturer and site conditions allow, use approved cribbing or load-spreading pads to improve bearing on softer ground. These materials should be correctly sized, rest on a level base, and be positioned so they can’t slide out from under the leg.
Before raising the boom or applying digging force, confirm that the machine is fully supported. Each leg should be in firm contact with the ground, and the machine should not rock or settle. Watch the support points closely during the first few bucket passes. Ground that seems solid at rest can compress once digging forces are added.
Make leg adjustments slowly and, where the manufacturer recommends it, one leg at a time. Sudden changes shift the center of gravity rapidly and can overload a single support point. Never adjust legs with a loaded bucket or extended boom unless the operator’s manual specifically permits it.
Key takeaway: Place every support leg on firm, stable ground away from edges, loose material, and hidden structures, confirm full support before digging, and make every leg adjustment slowly and deliberately.
Managing Machine Orientation and Center of Gravity
Stability on a slope depends on where the machine’s combined weight sits relative to its support base. That balance point, the center of gravity, moves constantly as the operator raises the boom, extends the arm, swings the upper structure, and fills the bucket.
Orientation plays a major role. The direction the machine faces determines how its weight and working forces act on the slope. Follow the manufacturer’s approved working orientations for your model. In general, working aligned with the slope reduces sideways loading, while working across the slope increases exposure to lateral tipping forces, particularly when the boom swings toward the downhill side.
Keep the attachment as low and close to the machine as practical, especially when swinging or preparing to reposition. Swing slowly and smoothly so you can sense changes in balance and react before they become a problem. Plan spoil placement so you rarely need to swing a full bucket toward the downhill side.
Many machines include tilt indicators, inclination alarms, or load monitoring. Use these aids, check that they work, and respect their warnings. They support operator judgment but never replace it or the manufacturer’s limits.
Key takeaway: Follow approved working orientations, avoid unnecessary sideways loading, keep the attachment low and close, and swing loads slowly so the center of gravity stays well inside the machine’s support base.
Controlling Excavation Movements on Hillsides
On sloped ground, how you dig matters as much as where you dig. Smooth, deliberate control inputs keep working forces predictable and help the support legs hold their positions.
Avoid aggressive bucket pulls, sudden boom movements, and jerky control inputs. Hard digging forces push and pull against the machine, and on a slope those forces can cause a leg to slide or sink. When the bucket meets heavy resistance from a buried rock or dense root mass, ease off instead of forcing through. Reposition the bucket, take smaller bites, or loosen the material in stages.
Side loading deserves the same caution. Using the bucket to sweep material sideways or pry against a trench wall places lateral forces on the machine that the legs may not resist on a slope. Keep digging forces aligned with the approved working direction whenever possible.
Plan the excavation sequence before the first cut. The most serious mistake on a hillside is undermining the ground that supports the machine. Digging too close to a support leg, or removing soil downhill of the machine’s footprint, can cause the ground beneath it to fail. Map out the dig so the machine always works from stable ground, and reposition as the excavation progresses instead of overreaching.
Watch for warning signs throughout the job. Cracks opening in the soil near the machine, a leg sinking or sliding, ground settling under a foot, or water seeping from the slope all signal changing conditions. Stop work, lower the attachment to a safe position, and reassess. If secure support can’t be restored, move the machine to stable ground using the approved procedure.
Key takeaway: Use smooth, deliberate movements, avoid aggressive pulling and side loading, plan the dig so the machine never undermines its own support, and stop immediately if the ground cracks, settles, or shifts.
Moving and Repositioning Between Work Areas
Repositioning is one of the most critical stages of spider excavator operation. While the machine moves, its support configuration changes, and stability margins can narrow quickly if the procedure isn’t followed precisely.
Spider excavators move differently from conventional tracked machines. Depending on the model, they may travel on wheeled legs, walk using leg movements, use the boom and bucket to assist travel, or combine these methods. Follow the manufacturer’s specified movement sequence exactly. Don’t improvise techniques or combine movements in ways the operator’s manual doesn’t describe.
Walk and inspect the route before moving. Confirm it’s clear of obstacles, loose material, soft ground, and unsupported edges. Measure the slope along the entire route, not just at the start and finish, since gradients often change midway. Where the route crosses changes in terrain, plan how the legs will be positioned at each stage.
Keep workers well clear of the machine while it moves. Extending, retracting, and pivoting legs create pinch and crush points. No one should stand near moving legs, between a leg and a fixed object, or downhill of the machine during travel.
When the machine reaches its new position, repeat the full leg-setting process. Confirm each support point rests on firm ground and the machine is stable before raising the boom or resuming excavation.
Key takeaway: Follow the manufacturer’s movement sequence exactly, inspect the full route before traveling, avoid crossing slopes unless approved, keep workers clear of moving legs, and reset the support legs completely at every new position.
Pre-Operation Checks for Sloped Ground Work
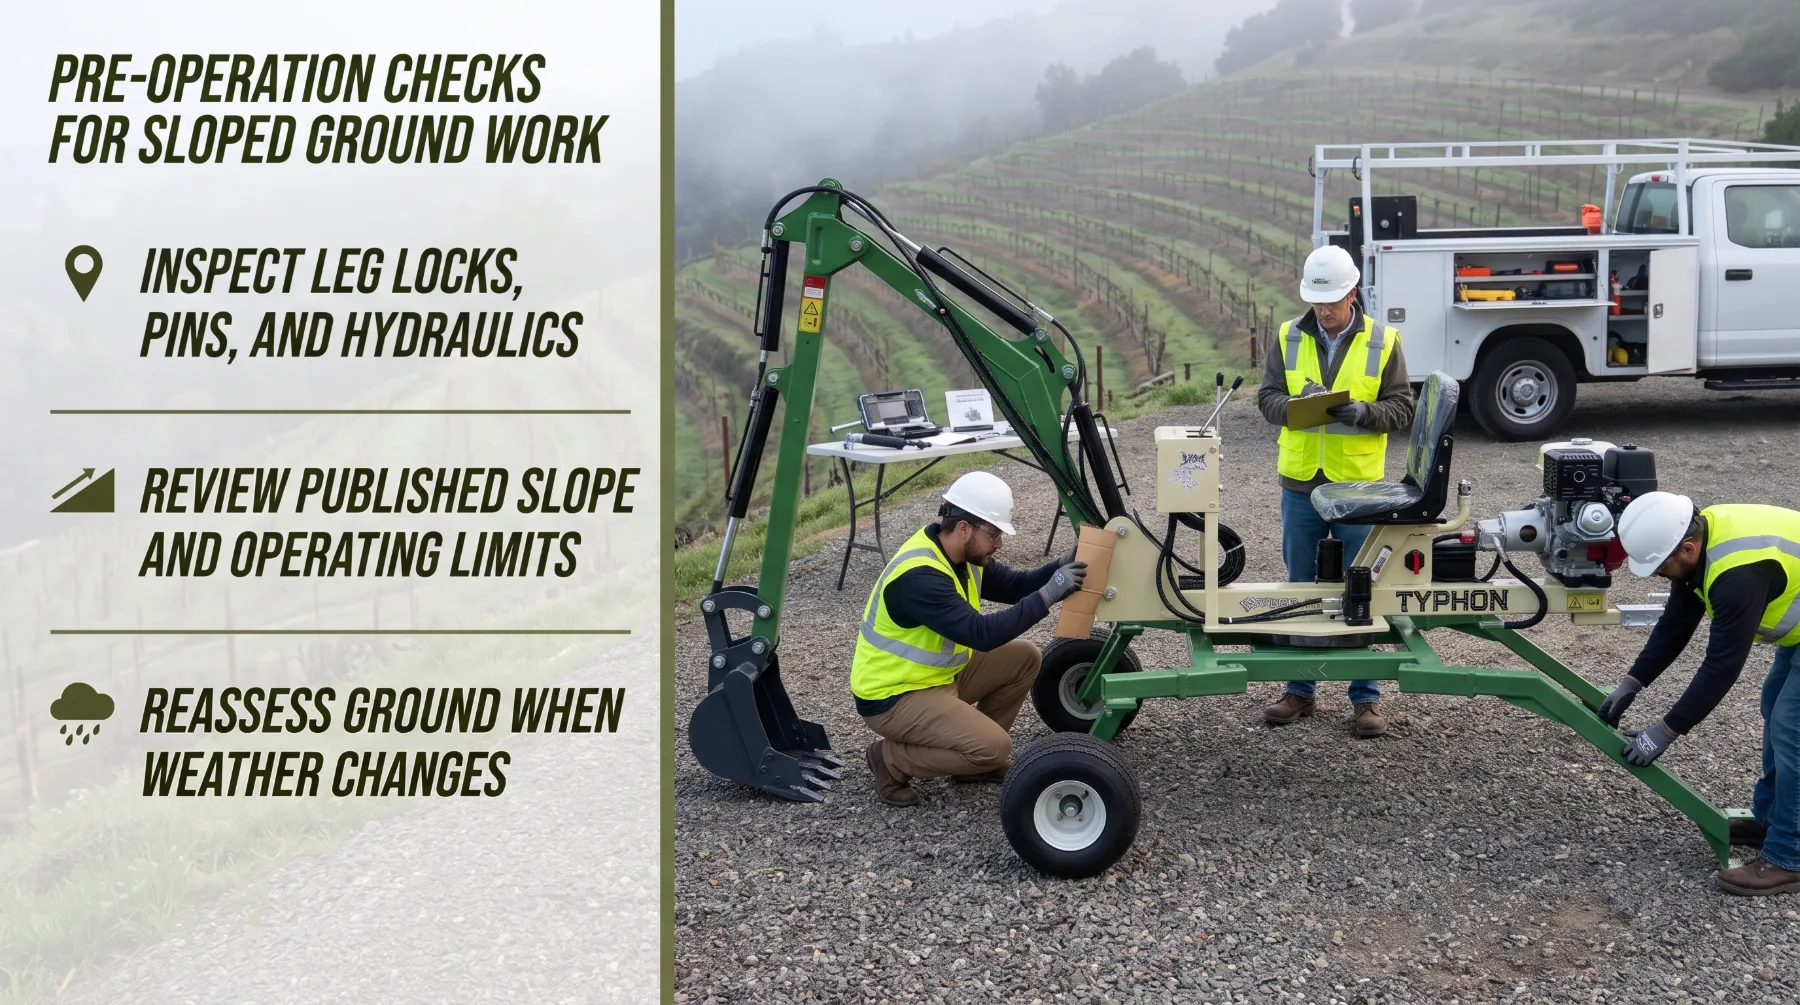
A thorough pre-operation check confirms the machine is ready for the demands of hillside work. On a slope, a component fault that would be minor on flat ground can quickly become serious.
Inspect the following before every shift:
- Leg locks and pins: Confirm locking mechanisms engage fully and pins are secure, undamaged, and properly retained.
- Hydraulic cylinders, hoses, and holding valves: Check for leaks, abrasion, cracks, and damaged fittings, with particular attention to leg cylinders that hold the machine’s position.
- Feet, claws, pads, and wheels: Look for wear, damage, and packed debris that could reduce grip or bearing.
- Attachment connections: Verify the coupler, pins, and auxiliary hoses are secure and correctly installed.
- Control functions: Test each leg, boom, arm, bucket, and swing function in a safe position to confirm smooth, predictable response.
- Safety equipment: Check seat belts, emergency stops, guards, warning lights, tilt indicators, and alarms where fitted.
Review the operator’s manual for slope restrictions, approved orientations, lifting limits, and emergency procedures. If you haven’t run this specific model recently, take time to refresh your familiarity with its controls and limitations.
Never use your hands to check for hydraulic leaks. Oil escaping under high pressure can penetrate the skin and cause serious injury that requires immediate medical attention. Use cardboard or a similar material, wear gloves and eye protection, and relieve pressure according to the manufacturer’s procedure before any service.
Weather requires ongoing attention. Rain can weaken ground quickly, and a slope that was safe in the morning may be unstable by afternoon. Frozen ground can thaw during the day, and dry, loose soil can shift once disturbed. Reassess the site whenever conditions change, and stop work if secure support can’t be maintained.
Finally, put an emergency plan in place. Everyone on site should know how to lower the attachment and secure the machine quickly, how the operator can exit safely, and how to summon help.
Key takeaway: Inspect leg locks, pins, hydraulics, feet, attachments, and controls before every shift, review the manufacturer’s slope and operating limits, reassess conditions whenever the weather changes, and keep an emergency plan in place.
Conclusion
Operating a spider mini excavator on sloped ground takes far more than setting the legs on uneven terrain and starting to dig. Safe, productive hillside work begins with measuring the slope, assessing ground strength, and confirming that conditions fall within the manufacturer’s published limits. Every support leg must rest on firm ground away from edges, loose material, and hidden structures, while correct orientation and a low, close attachment keep the center of gravity well inside the support base. Smooth control inputs, a carefully planned excavation sequence, and strict adherence to the approved repositioning procedure protect the operator and the crew alike. For long-term service life, regular inspection and maintenance of the spider excavator’s hydraulic system, support legs, joints, and structural components are essential to maintaining stability and reliable performance. Thorough pre-operation checks and constant attention to changing ground and weather complete a dependable approach. Before your next hillside project, walk the site, measure the slope, review your machine’s operator’s manual, and inspect every support component. If the ground begins to crack, settle, or shift, stop and reassess, because no schedule is worth compromising stability.
Frequently Asked Questions
Can a spider mini excavator operate on any slope?
No. Every spider mini excavator has manufacturer-defined limits for the maximum slope it can work on and travel across, and those limits may vary with orientation and configuration. Adjustable legs help the machine adapt to uneven ground, but they don’t eliminate the forces acting on it. Safe operation also depends on ground strength, moisture, attachment weight, and how the machine is positioned. Always measure the actual slope, compare it with the operator’s manual, and choose another position or method if conditions exceed the published limits.
Why are support leg positions important?
The support legs carry the machine’s weight and resist the forces generated during digging, lifting, and swinging. A leg resting on soft soil, loose material, an unsupported edge, or a hidden void can sink or slide under load and shift the machine’s balance. Placing each leg on firm, stable ground creates a reliable base and reduces the risk of movement. Confirm every support point is secure before raising the boom, and keep monitoring the legs as work continues, since ground can compress once digging forces are applied.
Should operators swing a loaded bucket across a hillside?
Avoid sudden or unnecessary swings with a loaded bucket, especially toward the downhill side. A full bucket adds weight far from the support base, and swinging it across a slope moves the center of gravity toward the lower support points. Keep the bucket low and close to the machine, swing slowly and smoothly, and plan spoil placement to limit downhill swings. Always follow the manufacturer’s guidance on approved working orientations and load handling for your model.
What should operators check before hillside work?
Before starting, measure the slope and inspect the ground for soft areas, loose soil, rocks, water, voids, edges, and buried or overhead utilities. On the machine, check leg locks, pins, hydraulic cylinders and hoses, holding valves, feet or wheels, attachment connections, controls, and safety equipment. Review the operator’s manual for slope restrictions, approved orientations, and emergency procedures. Factor in the weather as well, since rain or thawing ground can weaken soil quickly. Reassess whenever conditions change, and stop if secure support can’t be maintained.