How to Dig a Pool with a Mini Excavator?
Do you wish you had a cool swimming pool in your backyard? Bullding one can be a fun and rewarding job that will significantly elevate the level of comfort and joy for all. It can also give you a private place to relax and have fun. However, most people never commit to digging pools because digging one seems exhaustive, complicated, and expensive. The good news is, if you get a mini-excavator, the task will be much more simplified, and you can have your pool surprisingly quick and easy. This guide will walk you through how to dig a pool with a mini excavator, hoping that these tips can be useful for you.

Why Use a Mini Excavator to Dig the Peel?
When it comes to digging pools, there is hardly a more apt tool than a mini-excavator. Here are several reasons for using a mini excavator to dig a pool:
- Precision and Efficiency: Mini excavators provide excellent maneuverability, so you can dig precisely where you need without causing any harm or impact to the surrounding area. Their power and ability, often better than other tools, also make them very efficient, especially useful in homes where space and efficiency are critical.
- Cost-effectiveness: Hiring a professional crew or renting larger equipment can be expensive. Mini excavators are more affordable and can be operated by the homeowner after some basic training, significantly reducing the project’s cost.
- Reduced Landscape Disruption: Mini-excavators are really “mini”: with their smaller size, they can minimize damage to your yard, preserving more of your existing landscape compared to their larger counterparts.

How to Dig a Pool with a Mini Excavator: The Preparation Process
01. Site Selection
The first and most crucial step in digging for a pool is picking the right spot. Take these things into account:
Sunshine: Pick a spot that can get a lot of sunshine. This can keep the water at a good temperature and prevent the growth of algae.
Safety: To keep everyone safe, make sure the pool is far enough away from gas lines, power lines, and other underground utilities. A service like “Call Before You Dig” can help you find these utilities to avoid accidents.
Easy access: Ensure your mini excavator and any other equipment you need can get to the site. Also, consider future maintenance access when choosing the location.
02. Marking and Making Plans
Once you’ve found the ideal site, you can now plan your pool area:
Outline the Perimeter: To outline the edge of your pool, you can use stakes and string lines to mark. This not only helps you picture how the pool will be laid out but also helps you dig correctly.
- Consider extra space: If you plan to plant or landscape around the pool, please allow extra space for these elements when marking out the area.
How to Dig a Pool with a Mini Excavator: The Excavation Process
01. Setting Up the Site
It’s vital to get the area ready before you start digging. First, get rid of any trash, rocks, or plants that could get in the way. Safety come first, so check the area carefully for any underground utilities. Using a mini excavator near wires or pipes that aren’t marked can be dangerous. Make sure these are clearly marked.

02. Digging the Outline
Once the site is ready, start by outlining your pool with the mini excavator. To mark the perimeter, you can make small holes in each corner and connect them with shallow trenches. At this step, the digging process should be checked to make sure the pool stays the right size and shape. Besides, to keep your lines straight and your angles right, you can use stakes and string lines as guidance.
03. The Main Excavation
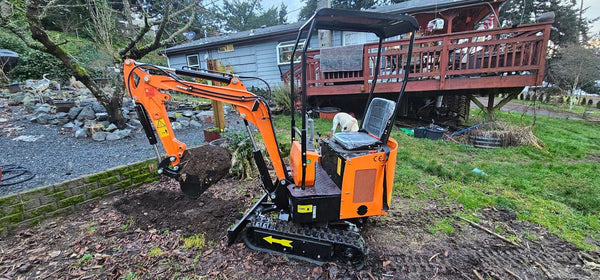
Now, it’s time for the main excavation. Gradually dig the pool area to the desired depth, working from one end to the other. Adjust your technique according to the differences in the types of soil you encounter: softer soils require less force, while clay or rocky soils might need a more aggressive approach. For big rocks or roots, you can use the mini excavator attachment like a hydraulic hammer to break them up.

04. Refinement and Final Shaping
Once most of the material is removed and the basic shape of the pool is formed, it’s time to refine the details. Smooth and even out the walls and floor of the pool cavity. This step is very important for the structure and look of your pool.
05. Cleanup and Site Restoration
Clean up the spot after the digging is done. Get rid of any extra trash and smooth out any bumped-up areas. You can either haul away the extra soil or use it to make the area around the pool look nicer. Cleaning up the site not only makes it safer but also makes it ready for the next step in your pool job, like putting up the frames or pouring the concrete.
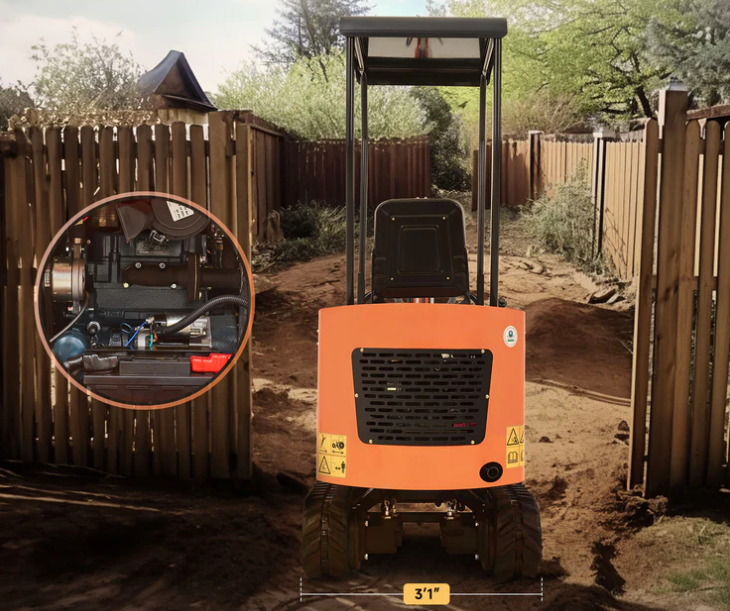
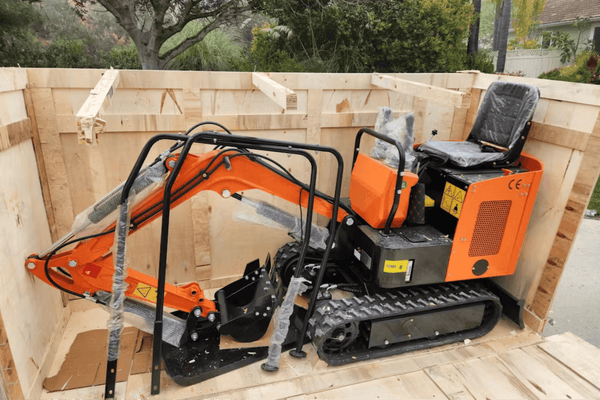
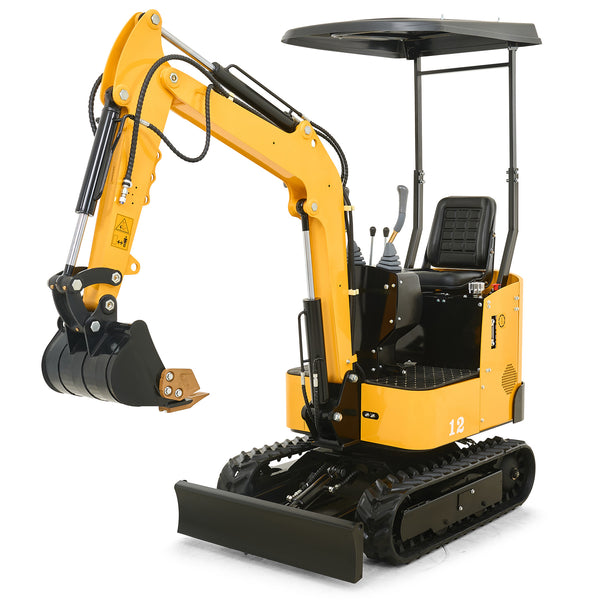
From this whole excavator process, you can see how important a reliable mini excavator can help you in digging your ideal pool. If you are searching for a high-quality mini excavator for your project, look no further than the 13.5HP Mini Excavator B&S Engine with 6 Attachments from AHM. This compact yet powerful mini excavator has a premium Briggs & Stratton 13.5 hp engine that can ensure powerful and fuel-efficient operation with superior heat dissipation and minimal vibrations. Its durability is enhanced by a forged crankshaft and Dura-Bore™ cast iron sleeve, extending its lifespan. Furthermore, with a suite of versatile attachments-including a log grapple, a bucket, a hammer, an auger head, a rake, and a quick hitch-this excavator is ideal for various tasks in tight spaces like backyards and gardens. This is the ideal tool for you to dig a pool in your backyard.

Conclusion
In summary, this guide has shown you some important steps for digging a pool with a mini excavator, from getting the site ready to clean up after the excavation. You can build a beautiful pool in your backyard that you and your family can enjoy for years to come, and each step you take brings you and your family closer to your goal of having a great place to relax.
