How to Dig a Pond with an Excavator: A Comprehensive Guide
As peaceful and gorgeous as personal ponds in the backyard can be, the thought of having to use heavy machinery just to install one makes many homeowners skittish.
But with the proper know-how and equipment, turning your yard into a water world is easier than you might imagine.
In this guide we will walk you through to how to dig a pond with an excavator, especially a mini excavator, the perfect equipment for DIY and budget-driven homeowners.
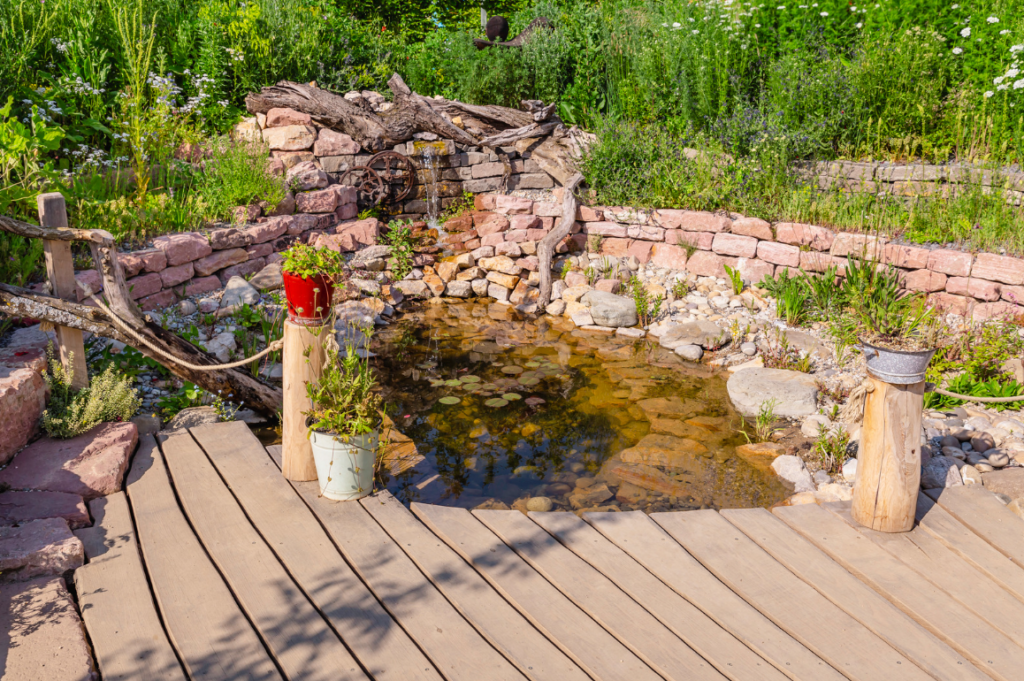
The Step-by-step Process of How to Dig a Pond with an Excavator
Stop 1: Planning and Preparation
Have a plan to before you even start digging. Mark out the shape of your future pond with a spray paint or stakes and string. Let the boundaries of your land guide you and aim for something organic that complements your landscape.
Check for underground utilities and obtain necessary permits. Clean the space obstructions and pathways through which you can enter your mini excavator.
Step 2: Topseil Romeval
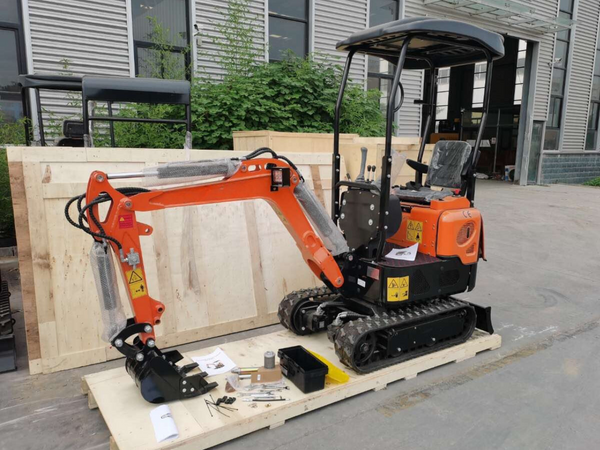
Using your mini excavator, begin to strip the top layer of grass and soil off (typically into a depth about 6-8 inches). A powerful mini excavator like our B&S Mini Escavator with 3,300ibf/4.5KN digging force would really shine for this job.
This topsoil is worth saving, so reserve it for landscaping when your pond Job has been finished. Work your way within your defined area without digging or lifting more than you have to.
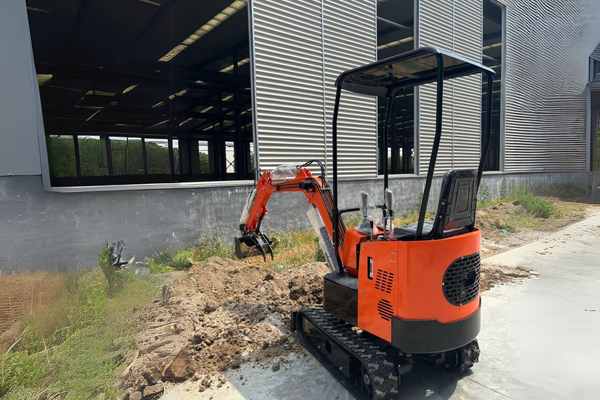
Step 3: Excavation Process
Start by digging outwards the water edge of your main dig and continue to work inwards, making it deeper each time. Using a spiral pattern, start at the centre and now dig soil out in layers with your mini excavator.
It keeps the soil in place and helps you to create a well-shaped pond. Monitor your depth gauges carefully and verify your progress against your plan.
Step 4: Creating Underwater Shelves
Create shelves around the edge of your pond as you dig it out. These should be shelves that run typically 6 inches, 12 inches, and 18 inches below the water line. The planting shelves will be wetland and shallow water areas for wildlife.
Step 5: Slope Shaping
Make sure that your pond has gentle slopes, not sudden drops. Try to maintain a slope of 3:1 (three feet out for every foot down) This mild grading helps guard against soil erosion, makes for easier maintenance and provides a safe passage for wildlife.
The bucket of your mini excavator can be used to gradually carve these slopes, so that they are shaped and smoothed meticulously.
Stop 6: Excavating the Doop End
Once you’ve shaped the perimeter and slopes, focus on creating the deepest part of your pond, typically located in the center. Try to keep the maximum depth between 3-4 feet for most. A
This depth offers sufficient water volume for temperature regulation and a refuge space for your fish during severe weather. Dig gently using your mini excavator’s reach.
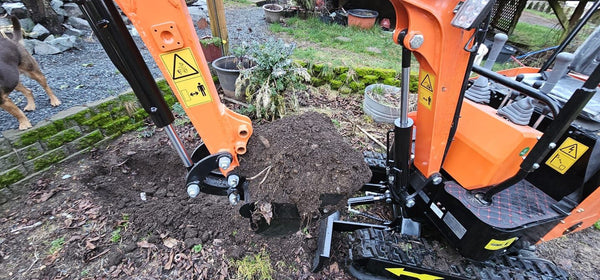
Stop 7: Bottom Contouring
Once you have reached your depth goal, use the mini excavator’s bucket to grade and shape the foot of the pool. Try to get a surface that’s flat and even with a slight slope that leads into the low point. It helps the flow, and it makes cleaning easier next time.
This is a very important step so take your time with it (the health and look of your pond will depend on it). Your aim here is to have a perfect-contoured bottom
Stap 8: Debris Removal
The excavated areas should be carefully inspected for rocks, roots or sharp objects that could puncture the pond liner. Remove these hazards with the mini excavator bucket or hand tools.
Just be sure to give the shelves and rifling a little extra care as they are most prone to puncture of the liner.
Stop 9: Preparation Of Soil Mixing and Bank
Mix the clay soil from the lowest parts of pond with the topsoil you have saved. This should be applied as the fertile substrate for grass and plants around your pond’s edges. Use your mini excavator to transport and mix these soils, then spread the mixture along the pond banks.
Step 10: Surrounding Area Grading
Use your mini excavator or a compact tractor with box blade to level the edges around your pond. Create a slight slope away from the pond to allow excess rainwater to drain.
Properly compacting the soil is a necessary measure to prevent erosion and keep your pond sides intact.Use your mini excavator or a compact tractor with box blade to level the edges around your pond. Create a slight slope away from the pond to allow excess rainwater to drain.
Properly compacting the soil is a necessary measure to prevent erosion and keep your pond sides intact.
Stop 11: Eresion Control
Note problem spots, especially washouts in steep banks Fill in the holes with your mixed soil, compacting slightly by pushing down on it gently using the excavator bucket. At the most susceptible spots, a case could be made for adding erosion control matting.
Step 12: Final Touches and Sooding
After you have gotten the pond and area surrounding formed to satisfaction, it’s time to finish it off. Seed banks and graded areas with an appropriate high-quality grass seed mix for your area.
Cover the place where you planted with the back of an excavator bucket without applying pressure; make sure that your seeds have enough contact.
How Much Does It Cost to Dig a Pond?
The cost to dig a pond varies widely depending on several factors:
Size and depth of the pond
Soil type and terrain
Equipment used
Labor costs (if hiring professionals)
Additional features (filtration, landscaping, etc.)
On average, the cost to dig a pond can range from $2,000 to $8,000 for a small to medium- sized pond. However, larger or more complex projects can easily exceed $20,000.
Using a cheap mini excavator can significantly reduce costs, especially for DIY enthusiasts. Browse our product page to find a mini excavator for your budget.
Planning Your Pond: Essential Considerations
Before you start digging a pond, careful planning is crucial:
- Consider sunlight, drainage, and proximity to utilities.
- Determine the pond’s dimensions and contours.
- Plan varying depths for different aquatic zones.
- Decide if it’s for aesthetics, wildlife, or recreation.
- Check local regulations regarding pond excavation
Choosing the Right Equipment: Why Mini Excavators Excel
While backhoe digging is an option, mini excavators offer several advantages for pond creation:
Maneuverability in tight spaces
Less ground damage than larger machines
Versatility with various attachments
Tips for Efficient Excavator Digging
Work in sections, moving the excavator as needed
Use the excavator’s reach to your advantage, minimizing repositioning
Create a ramp for easy machine access in and out of the dig alte
Keep soll piles organized for eary backfilling or removal
How to Start a Mini Excavator Safely
Before beginning your pond project, familiarize yourself with the machine:
- Conduct a visual Inspection
- Check fluid levels
- Fasten the seatbelt
- Start the engine and let it warm up
- Test all controls before digging
Safety should always be your top priority when operating heavy machinery.
Enhancing Your Pond: Beyond Digging
While excavator digging is a crucial step, creating a thriving pond ecosystem Involves more:
Liner Installation: Choose between flexible or preformed liners
Filtrations Consider a pond cleaning machine for maintenance
Landscaping: Use excavated soil to create berms or water features
Plantings Introduce aquatic and marginal plants for natural filtration
The beauty of using a mini excavator is the flexibility it offers throughout the project, from initial digging to final landscaping touches.
The Importance of Proper Drainage
Effective drainage is crucial for a healthy pond. When digging a pond, Incorporate thase drainage features:
Overflow pipe to manage excess water during heavy rain
Shallow swales around the pond to direct surface runoff
A deeper area or sump for easier cleaning and maintenance
These features will help maintain quality and prevent flooding issues.
Conclusion: Bringing Your Pond Vision to Life
Building a pond out of your mini excavator is one of those delight projects for nature lovers, and it can add tremendous value to the beauty on any property. With mindful preparation, costing and following best practices, you can have a stunning water feature for years to enjoy.
As you begin your pond digging adventure, do refer to professionals or established tank owners. Follow their insights to get best results. And if you’re looking for the best excavator for your budget, four can find it among AHM’s powerful mini excavators.
Read more related articles: How to dig a trench for drainage with a mini excavator?
